Fix a deep or crowded space with these seven practical pantry shelving ideas so every can is visible and the oldest food gets used first.
7 pantry shelving ideas so food stops hiding at the back
Written up by Margo Lockridge
5 minutes to read

Food lost at the back of deep pantry shelves stays there until it spoils. A quick sort and a few smart layout changes keep every can and box visible from the doorway. Loading new groceries behind the old ones keeps the oldest food getting used first.
1. Clear out bulging or leaking cans before you start
Empty the pantry so you start the new layout from bare shelves. Bring a trash bag and check every can and box. Throw out any spoiled food right away. Clemson Extension says a bulging lid or leaking can is a sign of spoilage, and spoiled food should be thrown out.
Wipe down the bare wooden or wire shelves with a damp cloth to remove spilled flour and dust. Dry the solid surfaces thoroughly with a towel before you load any cardboard boxes back in. Sort the surviving groceries on your kitchen counters into distinct categories based on how you cook.
2. Group food by how you cook, not by package size
Store your groceries together based on the actual meals you prepare each week. Keep dry pasta boxes right next to the tomato sauce and canned mushrooms on the same shelf. Group hard taco shells with canned refried beans and jars of salsa to form a quick dinner station. That way you are not searching several shelves to cook one meal.
Consolidate all your loose baking supplies like flour, sugar and baking powder in one designated area. Put the breakfast cereals, oatmeal canisters and maple syrup on a dedicated shelf for easy morning access. If you have extra stock and need to reach the back of a blind corner cabinet, store those large reserve packages there.
3. Keep everyday food between eye level and waist height
Place the foods you grab daily on the shelves that require no stretching or bending to reach. Your favorite afternoon snacks and regular lunchbox supplies belong right in this middle space for instant access. Reserve the highest hard to reach shelves for lightweight paper towels or bulky specialty baking pans.
Store heavy bags of pet food, bulk bags of rice and large cooking oil bottles directly on the pantry floor. Keeping heavy items down low takes weight off your tall wooden or wire shelves. Slide these heavy items toward the side walls so you maintain a clear walking path into the pantry. Storing weight properly protects your shelves and helps prevent accidental drops from a high height.
4. Use tiered risers so the back row stays in view
A deep flat shelf easily hides short soup cans directly behind taller cereal boxes and dry pasta bags. Place a plastic or bamboo tiered riser on the shelf to physically lift the back rows of canned goods. This staggered stadium seating layout displays every printed label clearly from the pantry doorway.
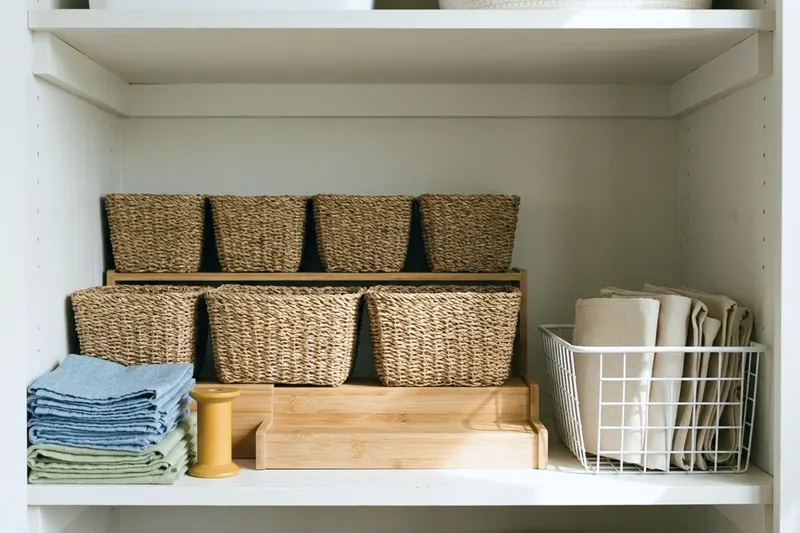
Measure your exact shelf depth before placing a riser to ensure the cabinet door still closes perfectly. Group similar foods like canned vegetables on the bottom step and canned fruits on the top step. Facing all the labels outward on the riser lets you check your available stock instantly without moving anything.
5. Put baskets or pull-out bins on deep low shelves
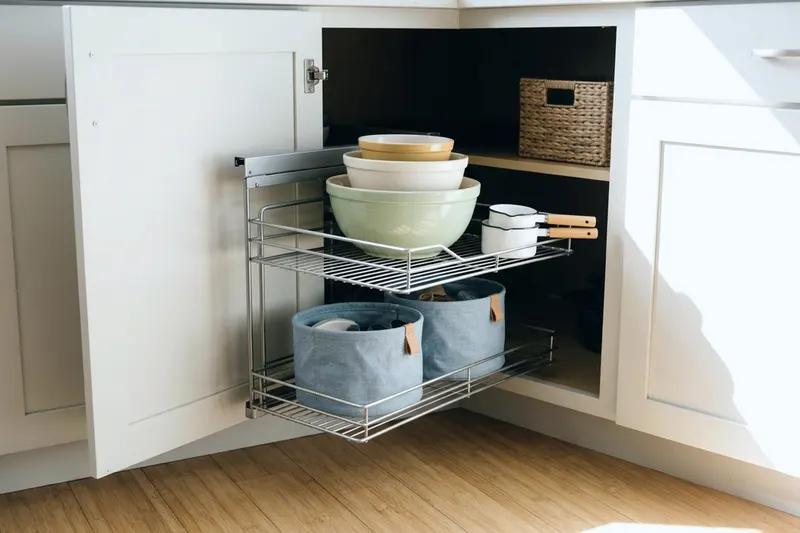
Pull-out bins stop small loose items from vanishing in the dark corners. Slide a pair of clear acrylic bins onto a deep bottom shelf to hold loose granola bars and snack pouches. You can pull the whole bin forward like a drawer to easily look at the packed contents. This simple addition stops you from kneeling on the bare floor to dig around for a quick afternoon snack.
A sturdy wire basket works just as well for corralling awkward bags of chips and salty pretzels. Group these loose bags tightly inside the basket so they stop spilling across the main shelf surface. Label the front lip of each bin or basket so the whole household knows exactly where the snacks belong. Returning items to a clearly labeled bin maintains your new layout long after the initial weekend sort.
6. Use the door for spices, packets and small jars
Small glass jars get knocked over easily when you reach past them for larger items. Hang an over the door wire rack to securely catch all the little spice jars and loose gravy packets. Moving small containers directly to the door completely frees up your main shelf space for larger heavy grocery boxes. Organize the door rack carefully by cooking category so you can grab the right seasoning blend immediately.
Keep the heaviest glass jars and thick glass bottles exclusively on the lowest baskets of the metal door rack. Check the rack's label for its weight limit before you load it. Place lightweight seasoning packets and small plastic shakers in the upper baskets right at comfortable eye level. Check the clearance between the metal rack and the interior shelves so the solid door closes tightly every time.
7. Load new groceries behind the older ones
Clemson Extension recommends first in, first out, with newly bought cans placed behind the ones already on the shelf. This specific loading method naturally forces you to use up the older stock before opening fresh groceries. Pushing the older inventory forward helps keep anything from sitting unused and forgotten at the back of the deep shelf.
Take an extra minute to pull the existing boxes forward every time you unpack your new shopping bags. Keep a few inches of empty bare space directly at the front edge of every single deep shelf. You always need a little physical room to slide the older items forward into plain sight.
Keep canned food in the coolest dry spot you have
Heat speeds up natural spoilage and can shorten the shelf life of your stored canned groceries. Clemson Extension says the best temperature for storing canned foods is between 50 and 70 degrees Fahrenheit. Keep your canned food away from heat sources such as ranges, furnaces or hot pipes to hold that temperature.
Review the expected shelf life for different canned ingredients so you know exactly what to cook and prioritize. The natural acidity of the sealed food largely determines how long it keeps on a cool, dry shelf. Check your stock against these strict storage guidelines and plan your upcoming family meals accordingly to prevent waste.
Canned food type | Examples | Shelf life |
|---|---|---|
Unopened high acid | Juices, tomatoes and pickles | 12 to 18 months |
Unopened low acid | Meat, poultry, beans and corn | 2 to 5 years |